Inspiration
Things founders build with Anything:- AI SaaS products
- Marketplace or directory apps
- Booking and scheduling tools
- Customer portals
- Landing pages and marketing sites
- Internal tools
- Community platforms and forums
Chat
Tell the agent you want a web app or website. You’ll know it’s a web project because the app preview fills the full screen (no device frame).Pages
Pages are the screens of your web app. Every project starts with one blank page. Add more as your app grows.- Different sections serve different purposes (home, about, contact)
- You want separate views for different users (customer-facing vs. admin)
- You need to restrict access to signed-in users
Responsiveness
Use the responsive toggle in the top bar to preview what your web page looks like on Desktop or Mobile web. If something doesn’t look right on one size, tell the agent:Routes
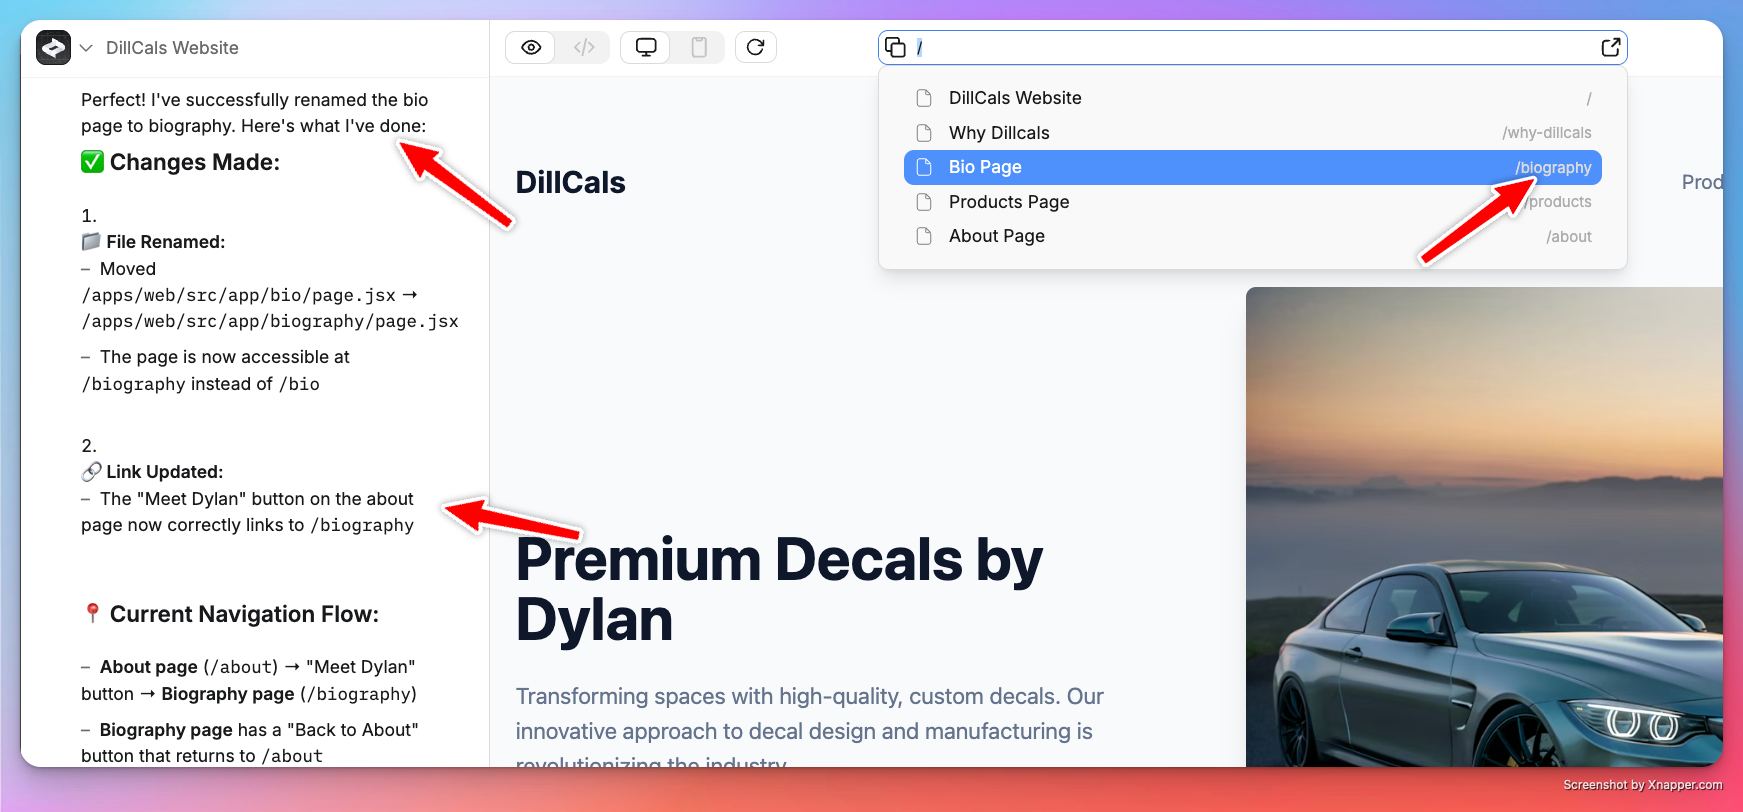
Each page lives on a route — a URL path like/dashboard or /settings. Routes appear next to the page name in the element selector. The agent picks routes based on page names, but you can change them:
Links
Connect pages by telling the agent how they should link: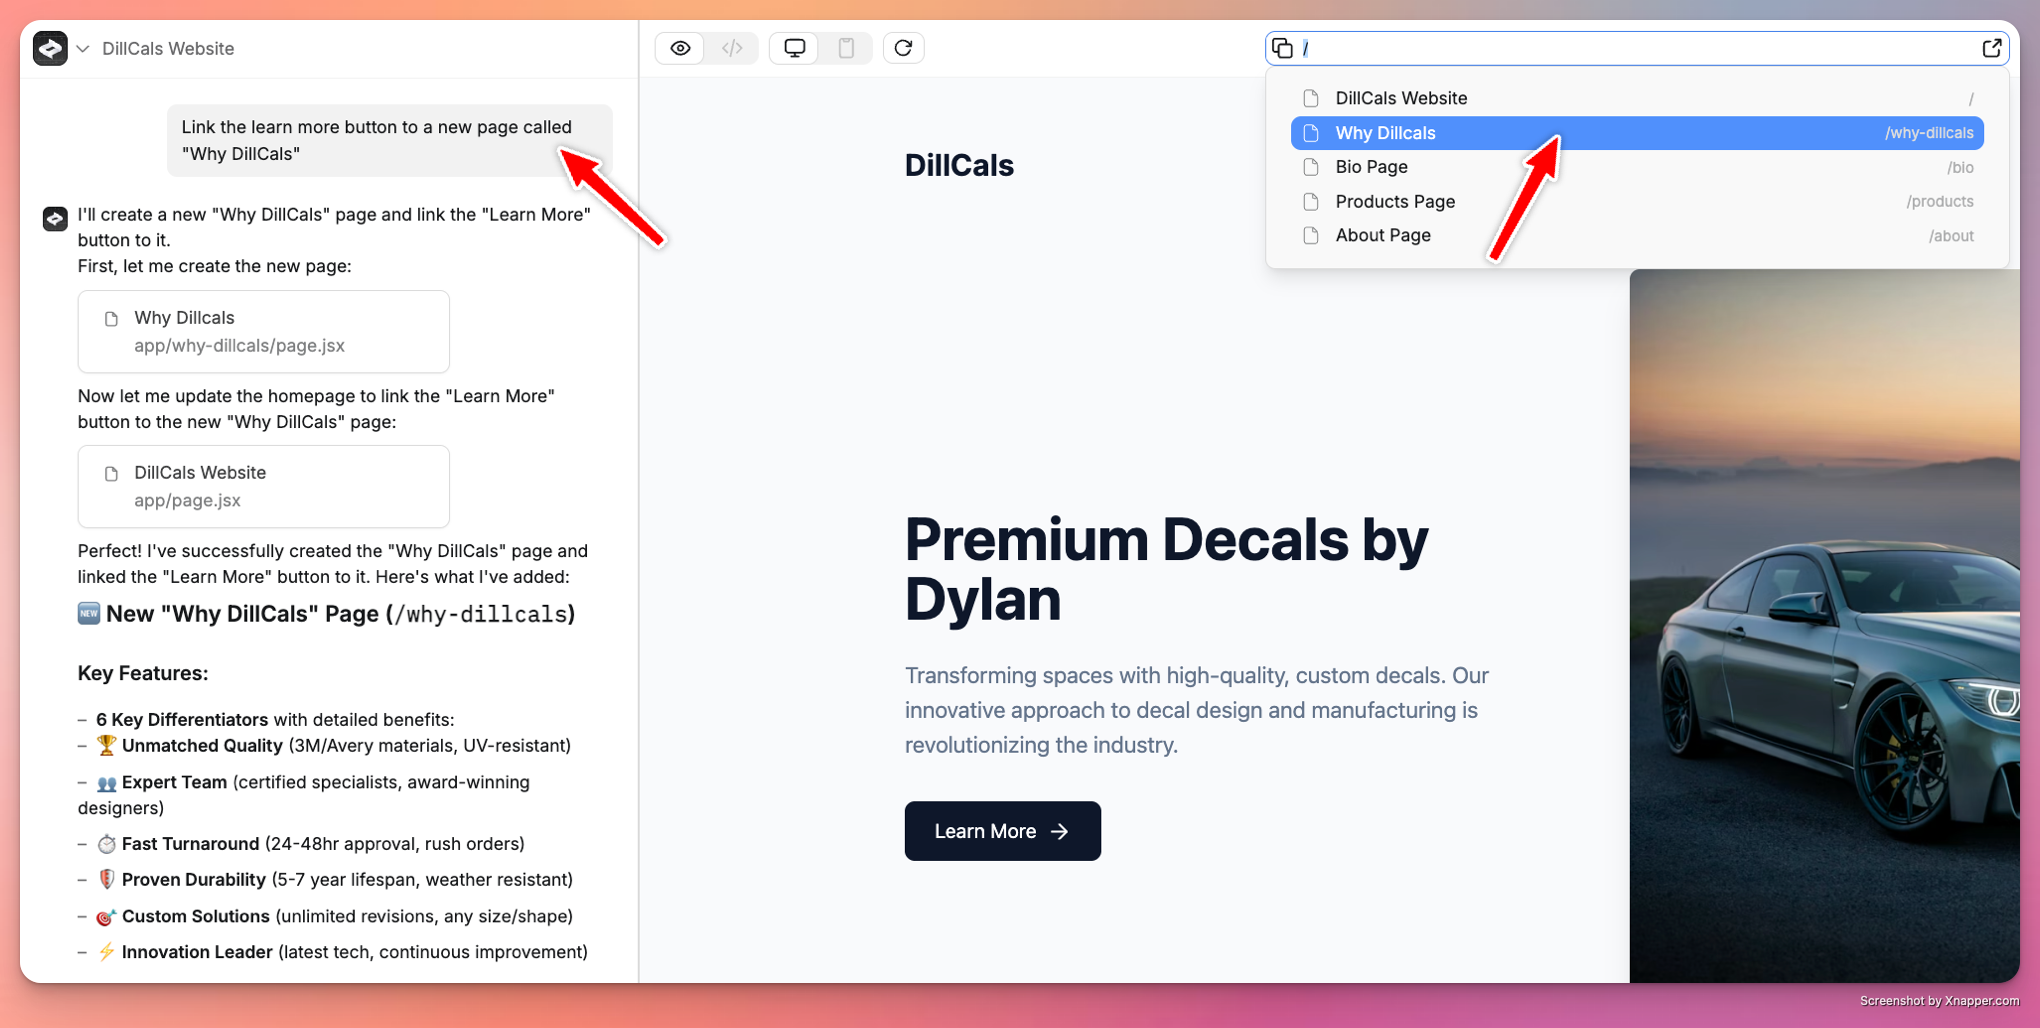
Styling
Tell the agent how you want things to look. Paste screenshots, share URLs, or describe it.- Paste screenshots: see the prompting guide
- Share URLs: Anything screenshots the page and uses it as reference
Publishing
Click Publish in the top right to go live. See the publishing guide.- Click Publish in the top bar
- Choose your domain or use the free Anything subdomain
- Set up a custom domain if you want one
- Re-publish after changes to push updates live
Pages stay private until you publish. Use Preview mode to test first.
Assets
Upload images and files in Project Settings under Assets. Reusable across all pages. You can also paste images into the chat to add them to a page.Going further
Every Anything web app has built-in support for:- User accounts —
Add login with Google and email sign up - Payments —
Add checkout for a $20/month subscription - Database —
Save orders and show them in a table - Backend —
Send a welcome email when someone signs up - File uploads —
Let users upload a profile photo - Integrations —
Add an AI chatbot that answers customer questions