We recommend Google Chrome for the best experience using Anything.
Prompting
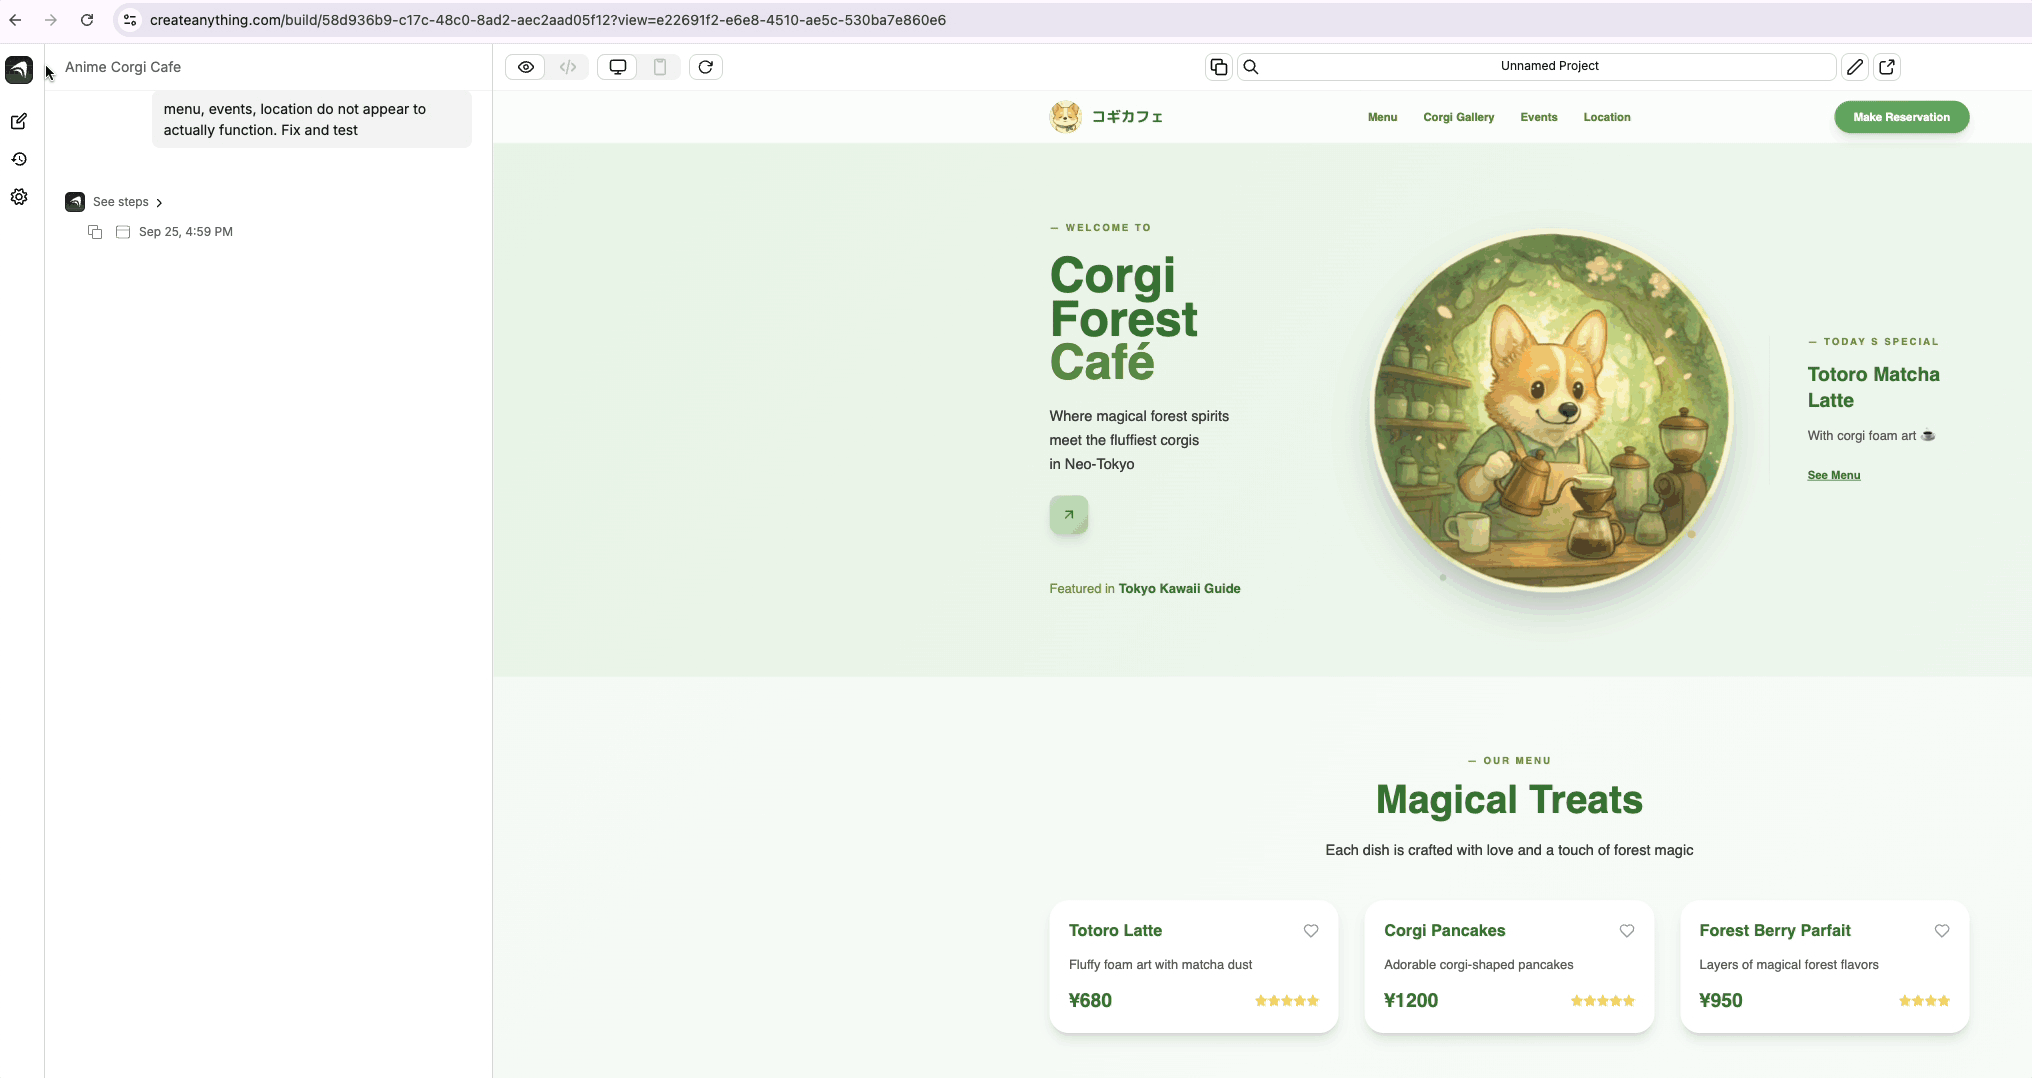
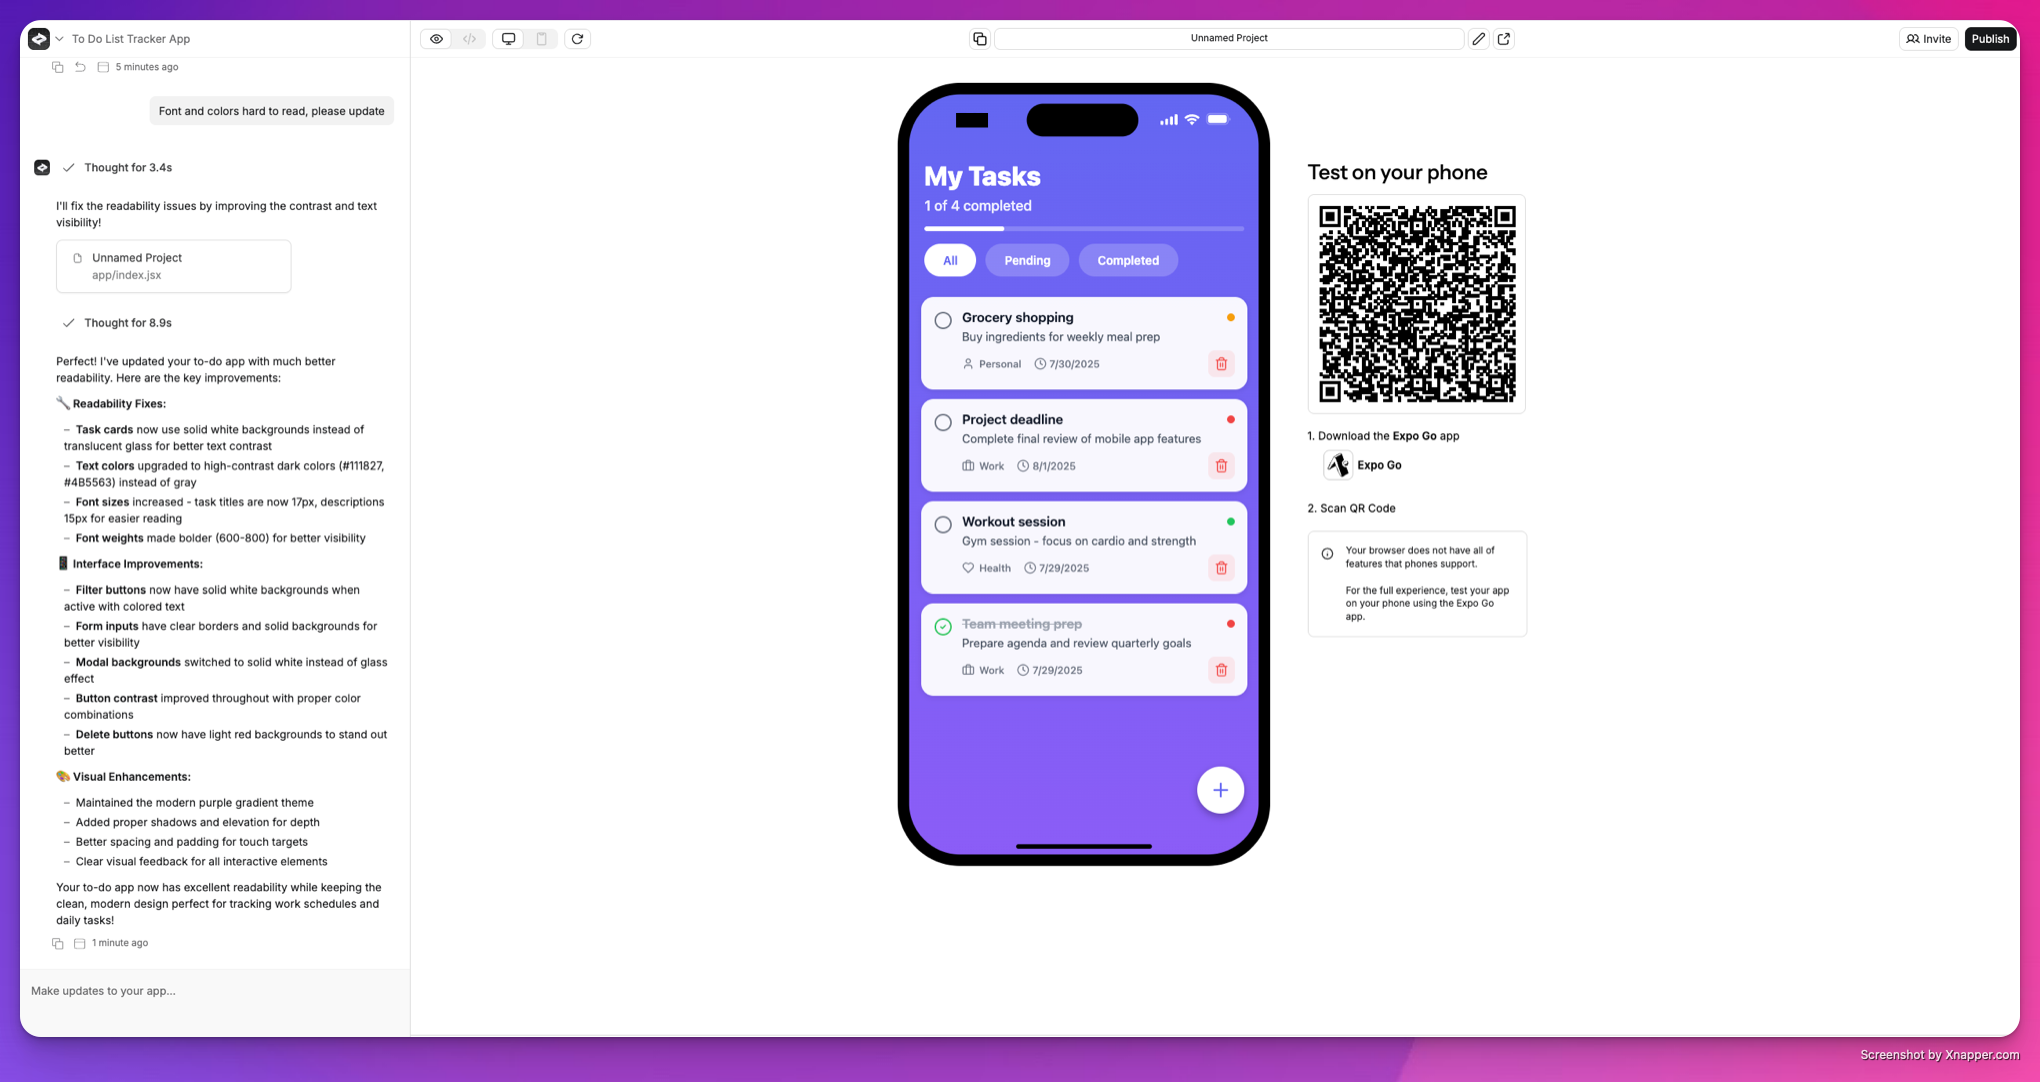
You build by chatting. The better your prompts, the better Anything can build your app.- Be specific on errors. “When I click the login button in the header, it doesn’t show a dropdown” beats “It’s not working”
- Say what you’re building. Tell it whether you want a mobile app or web app.
- Go step by step. One feature per message.
- Paste images. Screenshot a design and say “make it look like this.”
- Plan first. Use Plan mode to get a step-by-step implementation plan before the agent starts building.
Agent
The agent has modes for different tasks. Switch in the mode selector.- Auto picks the best approach for the task (default)
- Discussion lets you ask the agent questions without it changing your code
- Plan creates an implementation plan before making changes
- Thinking for most requests. More accurate, slightly slower.
- Fast for simple tasks. Fewer credits, less accurate.
- Max is fully autonomous. It builds, tests, and fixes on its own.
Controls
Anything builder interface showing the main canvas, chat, and key controls
- Chat: talk to the agent, use
/or+for integrations, paste images - Left sidebar: switch chats, version history, settings
- Top bar: preview/code toggle, responsive view, element selector, publish
- App preview: your app running in a cloud sandbox (QR code for mobile)
- Project settings: custom instructions, assets, secrets, auth, branding
Preview vs. production
You work on a preview version of your app. Users don’t see changes until you publish. Hit Publish and your current build becomes the live version. Preview and production have separate databases, so you can test freely without affecting real users. Each time you publish, your live app updates to match what you’ve built.Your app
Anything makes mobile apps and web apps, with everything built in to make it easy for anyone to ship. Here’s what you can add:- Web. Build websites or apps you can host live on a domain.
- Mobile. Build native iOS and Android apps you can submit to the App Store.
- Auth. Let people sign up and login to your apps.
- Databases. Every app comes with a built-in database that scales.
- Backend. Full backend logic for your app.
- Uploads. Let people upload images and files.
- Integrations. Connect to other apps and tools, with AI built in.
- Payments. Accept subscriptions, one-time payments, and more on web and mobile.
Build from your phone
You can also build apps by texting. Connect your phone number in Settings, then text the number Anything gives you. Describe what you want and the agent builds it, just like in the builder. You’ll get a link back to view and edit your app. Requires a Pro plan or higher.Launch
Hit Publish in the top right to go live. Mobile apps can also be submitted to the App Store.