Use this file to discover all available pages before exploring further.
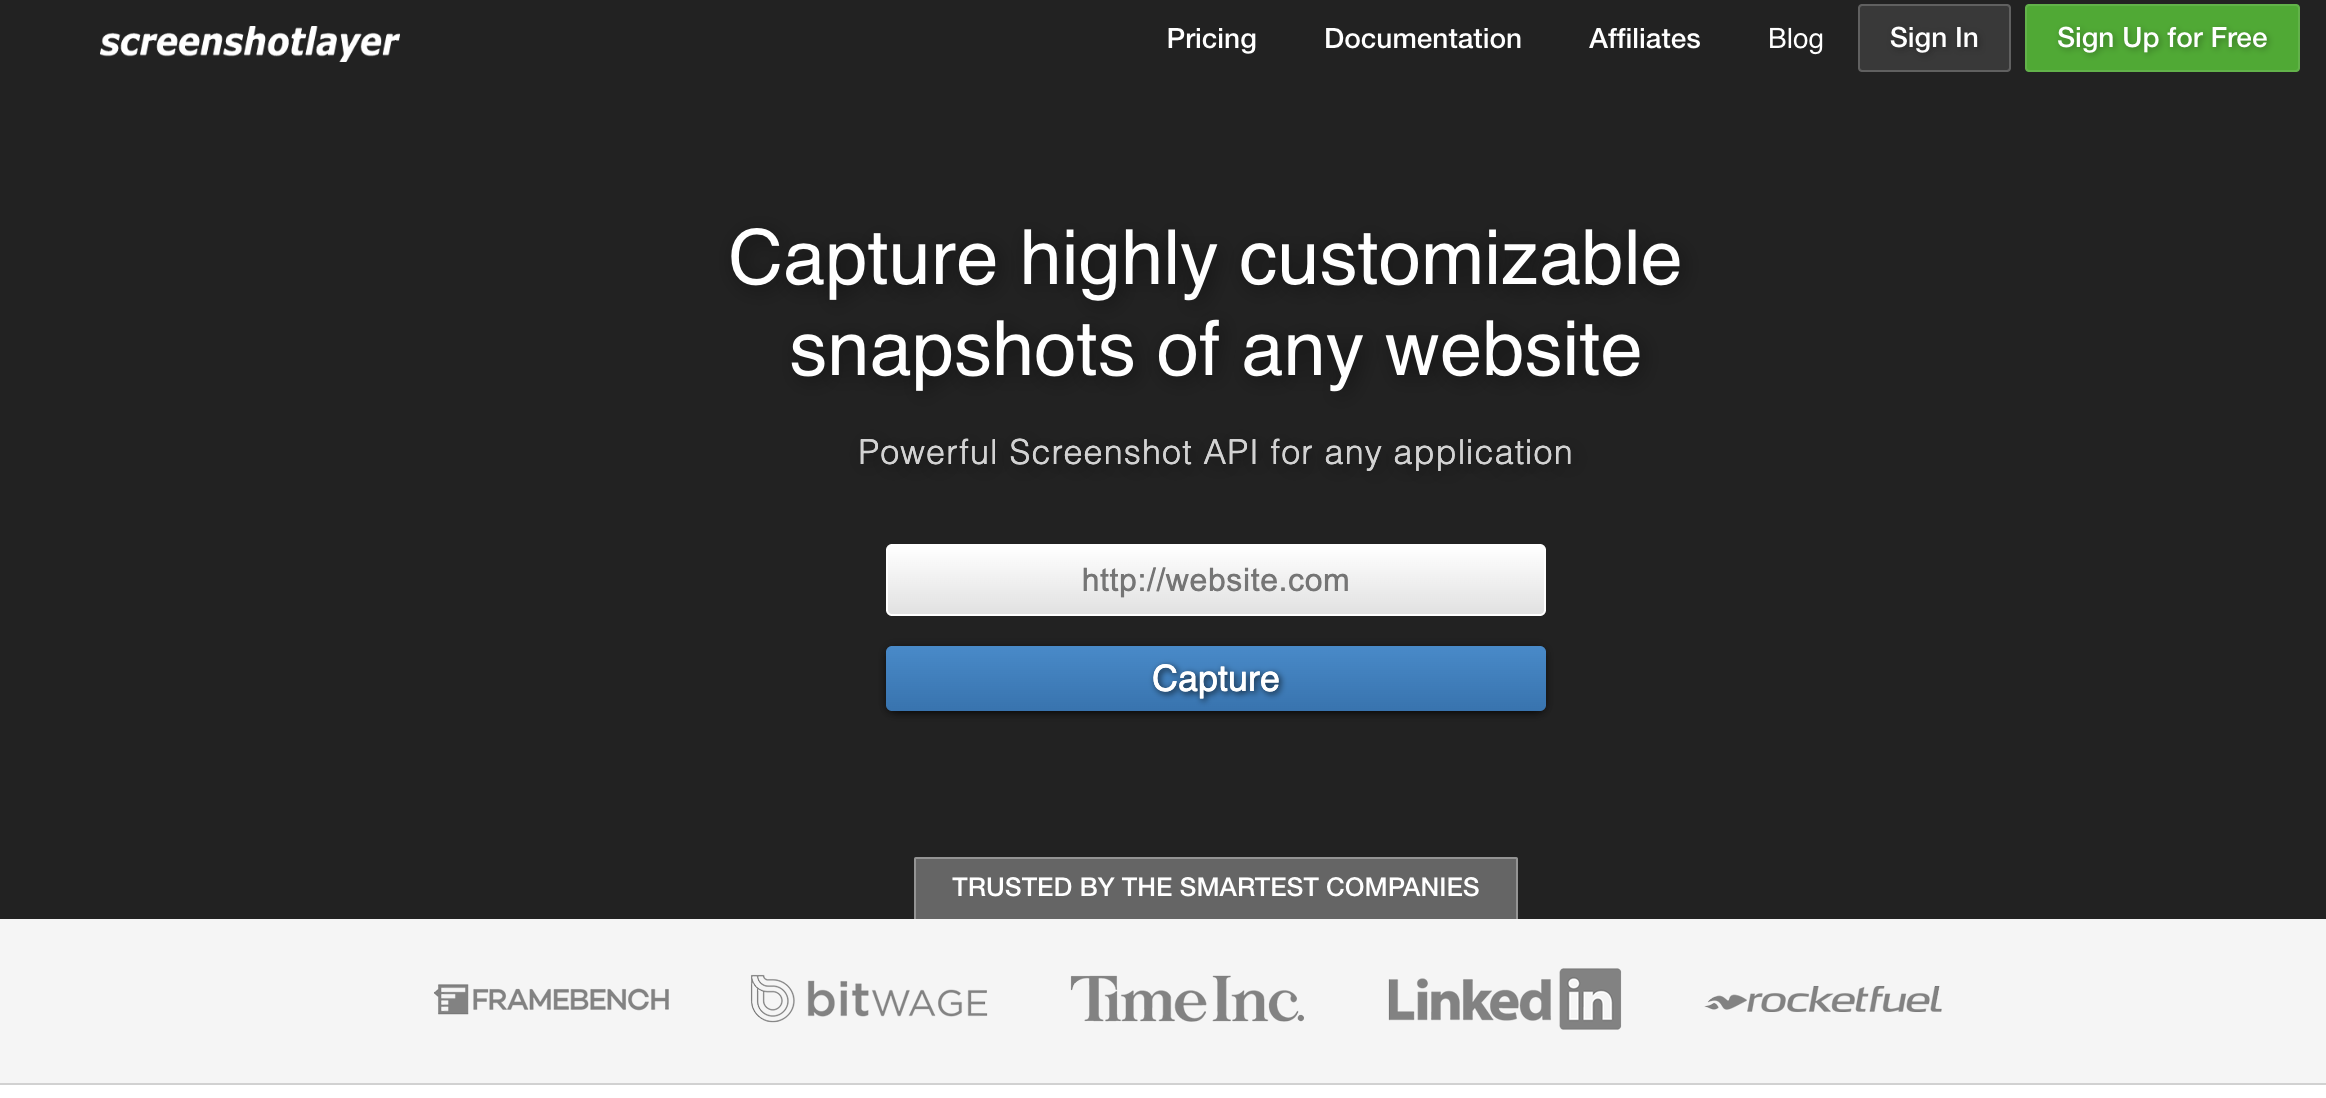
Screenshot Layer API allows you to capture high-quality screenshots of any website, enabling you to integrate visual web captures into your applications.
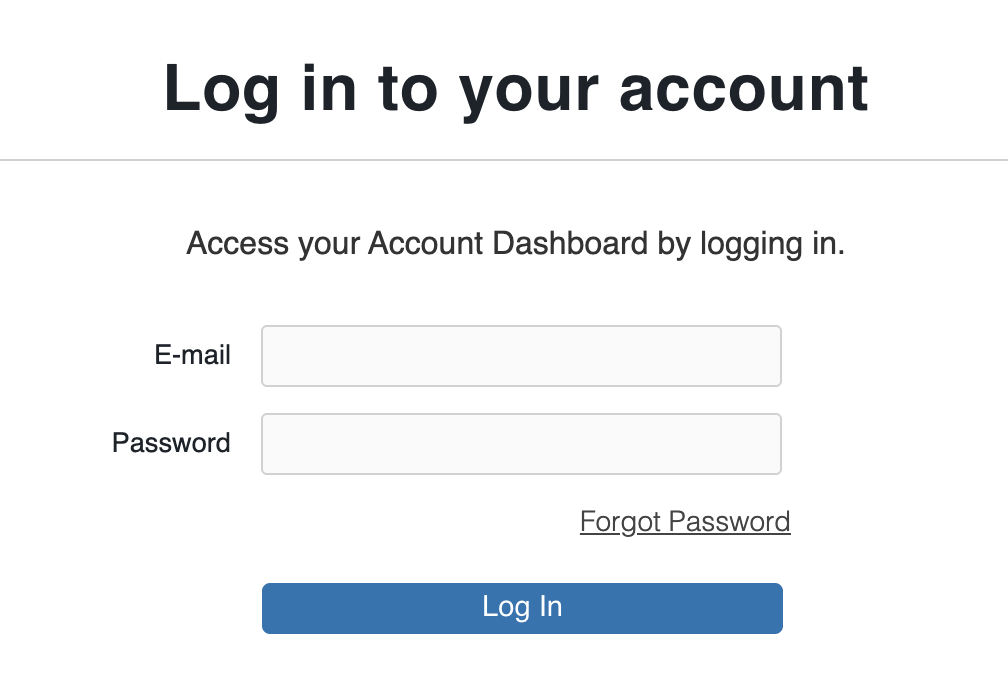
Paste your Screenshot Layer API key into the “SCREENSHOT_LAYER_API_KEY” field
Need a new key? You can find it in your Screenshot Layer dashboard.
3
Use it
You can now use prompts with the integration to capture website screenshots.Some examples:
Capture a screenshot of this website using /ScreenshotLayer
Create a website preview tool with /ScreenshotLayer
Build a web archiving app using /ScreenshotLayer
The API limits how often your app can fetch data. If your app loads the same data often, ask the agent to save it locally so it doesn’t re-fetch every time.
Example prompt for optimization:
When using /ScreenshotLayer, save the screenshots so my app doesn't have to fetch it again
Your Screenshot Layer integration is now ready! Use the /ScreenshotLayer command in chat to capture website screenshots.
Was this page helpful?
⌘I
Assistant
Responses are generated using AI and may contain mistakes.